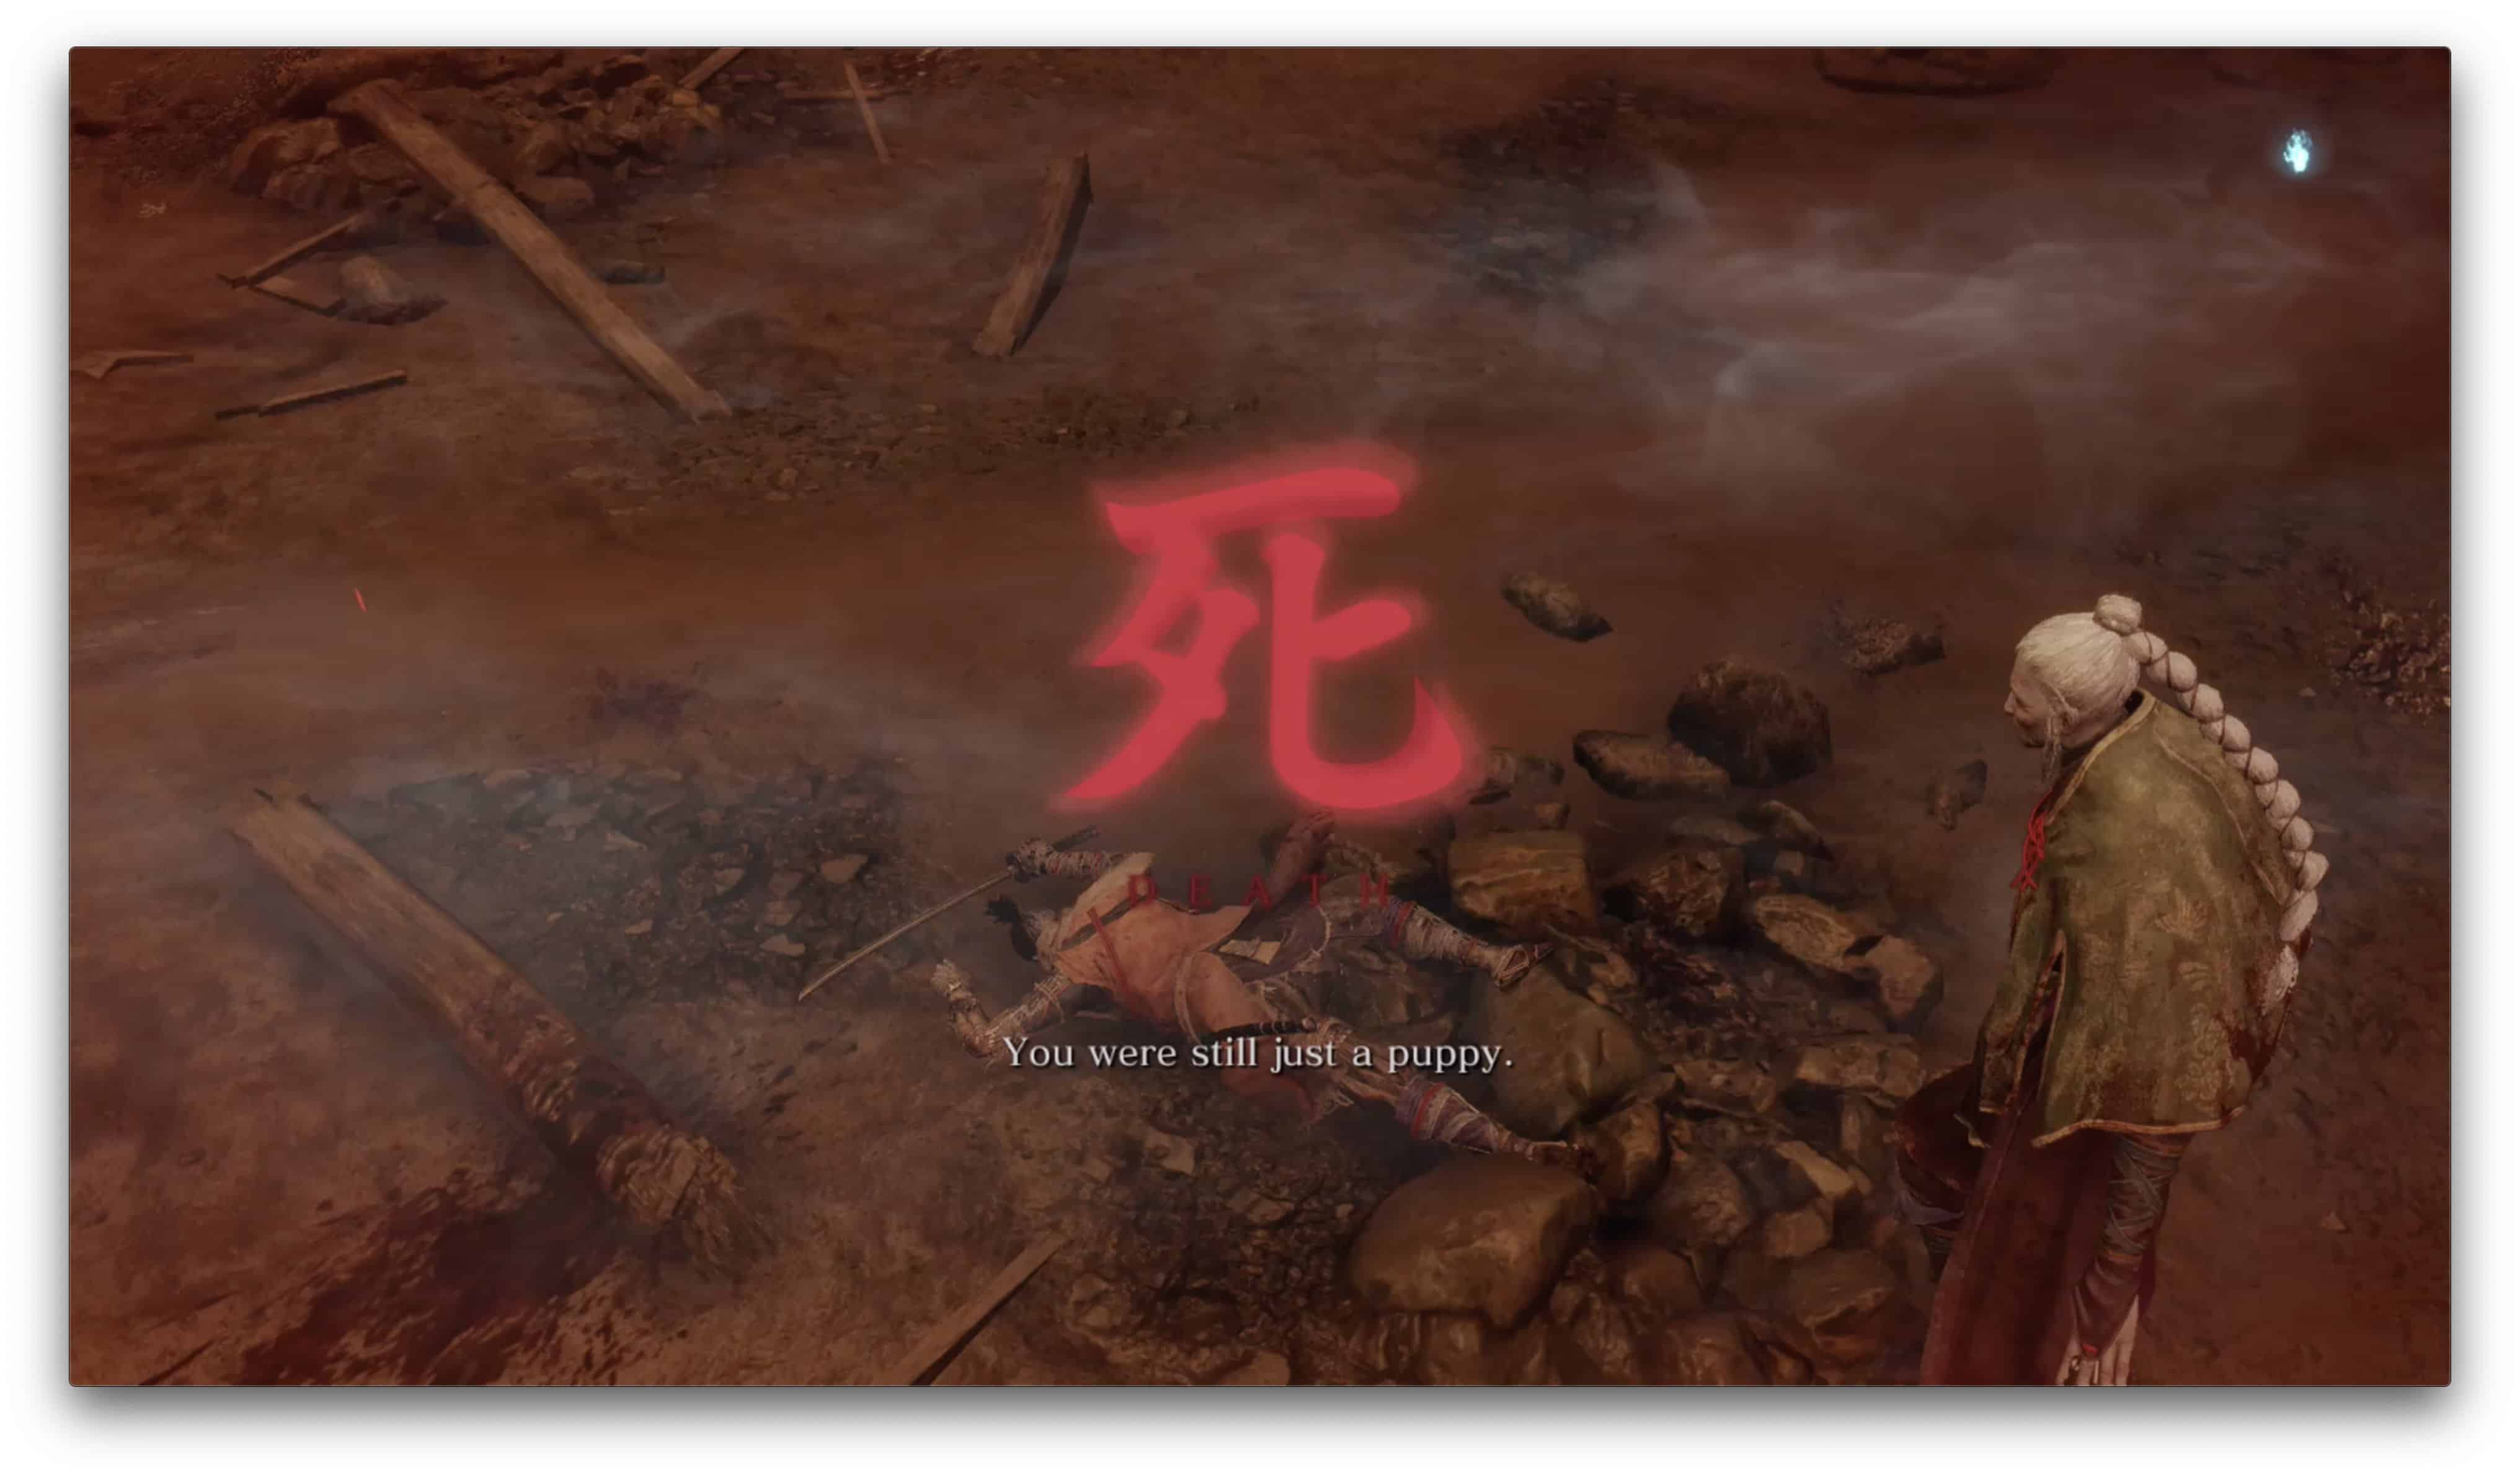
Sekiro: Shadows Die Twice is one of the most challenging, yet rewarding, games that I have ever played. After finally beating the game, I did as I always do and Googled whether or not I got the so-called “good” ending. I did not. This frustrated me! I finished as many quests as I could, and explored as many areas as thoroughly as I possible. At least, that is what I thought. Naturally, I was surprised to learn that not only did I get the easiest of the Sekiro: Shadows Die Twice endings (obviously), but also confirmed that there are three others waiting for me!
As such, I pulled out all the stops. I searched the various Wikis already available for the game, and even took to Reddit. I may not be playing the game again as soon as I would like, but next time I do, I will be prepared to get all those Sekiro: Shadows Die Twice endings!

After a bit of trail and error, I now know that it is possible to get all four endings on a single save file. After I figured this out, it was time to get to those endings. In order to get all of them without needing to start a New Game Plus (NG+), all you need to do is make sure that you do not override the save as you progress through the game. In this guide, I will go through the steps needed for every single Sekiro: Shadows Die Twice ending.
The guide below will be rife with spoilers for certain key parts of the game. I implore you to finish the game at least once before reading ahead. If you are comfortable with the spoilers, however, you can head below where I talk about the four Sekiro: Shadows Die Twice endings.
IMPORTANT:
BEFORE EMBARKING ON YOUR QUEST FOR SEKIRO: SHADOWS DIE TWICE ENDINGS!
It is imperative that you create a unique save right before you talk to Owl when you meet him the second time in the present day Ashina Castle. Here, he offers you a choice that sets the rest of the game in motion. The choice you make here determines the various endings going forward, and acts as a base for everything you need to do as you progress.

Shura
Shura is for all intent and purpose, the “bad” ending. It is also the easiest to obtain!
To get this ending, you need to side with Owl when he asks whether you will join him or continue aiding your master, Kuro. In agreeing to betray Kuro (since you know, the father’s word is absolute), you will quickly be put on the path to fight two very challenging bosses. Defeat both bosses, and Wolf will turn into a demon of hate. Easy, right?
The Shura ending will reward the player with a new special move that is exclusive to this ending. It can be taken into NG+, which might prove useful if you are not doing the save game trick.

Immortal Severance
While Shura is the “bad” ending, Immortal Severance is considered one of the “good” Sekiro: Shadows Die Twice endings.
When you talk to Owl, you need to tell your adoptive father that Kuro’s service is the path you want to walk. In staying loyal with your young master, Wolf will be put on the path that is most loyal to Kuro.
After defeating the boss that follows that fateful conversation, all you need to do is follow the story until the end. There are no special requirements that need to be met, other than the one you need to make when you meet Owl.
Purification
Okay, now we are getting to the good stuff. Purification is one of the Sekiro: Shadows Die Twice endings that involves Emma. So if you have not become acquainted with this loyal servant to Ishin Ashina yet, you will now. This ending also requires a lot of sleuthing, so get ready to be as stealthy as you possibly can.
For this ending, you need to start with things before you talk to Owl for the second time. So, to get things rolling, you need to find Emma before you get to Owl, but after the Interior Ministry has invaded Ashina Castle.

Make sure that you eavesdrop on her conversation with Ishin. Once you have heard what she has to say, talk to Owl and choose to stay loyal to Kuro. Once your dealings with Owl have passed, you must go to Kuro and burn the incense.
From here on out, it is important to note that you must not go to Fountainhead Palace until later. You may do as you wish, so long as you stay away from the Palace, and the Divine Dragon therein.When you are ready, head to Kuro’s room and hide behind a statue. After a little while, you will be able to hug the wall and get an eavesdrop opportunity on Kuro. This eavesdrop will lead to a new conversation with Emma. Thereafter, head to her – she should be nearby the Sculptor’s Idol where you encountered Owl.
After you have spoken to her, rest at the Idol, and talk to Emma again. She will tell you that she plans to visit a grave. From there, head over to the Old Grave Idol.
Once at the Old Grave Idol, you will have another conversation with Emma. Here, she will talk about her past, and eventually tell you to talk to the Sculptor. Head over to the Dilapidated Temple.

Once there, talk to the Sculptor. Hints will be dropped that you need to listen in on a conversation. Eavesdrop on his conversation with Emma as soon as you are able to. This conversation will reveal even more about the past – important bits of lore that you will not want to miss. After this, confront Emma and she will hand you a bell similar to the one that sent you back three years in the first place.
By offering the bell to the Budha statue at the Dilapidated Temple, you will be transported back to Hirata Estate. Only now, you are experiencing new parts of the three-year-old memory, making this one of the more satisfying Sekiro: Shadows Die Twice endings.
Make your way through the estate and defeat the final boss. Defeating him will net you the Everblossom item. With this in hand, you can complete the game as normal – head to the Fountainhead Palace and do your thing. Only, once you offer all the items needed for the severance, you will hand Kuro the Everblossom and the Divine Tears, nothing else.

Return
Last but not least, there is the Return ending. This is the best of the Sekiro: Shadows Die Twice endings. It offers absolute an conclusion, as well as hints for a possible sequel. It delivers on the main goal, and sets up the future of the Hirata Clan, or rather, the lack thereof. This is also the most complex ending, so buckle up and get ready for a bit of a roller coaster.
Every interaction done in the following text, must be done before heading to the Fountainhead Palace. Only head there when the guide tells you to. Heading there before will lead to one of the other endings. Similarly, you should not talk to Owl for a little while longer.

The first thing you need is the Holy Tome: Infested item. How you get this depends on how you went through the early game. If you have been to Senpou Temple before defeating Genichiro, you will probably have encountered a monk next to the Main Hall. He gives you this tome.
However, if you have already defeated Genichiro, and only then headed into Mount Kongo and the Senpou Temple, you will only be able to get the tome after you get the ability to swim and breathe underwater. Once you have this ability, head to the main body of water near the Temple Ground Idol and dive. The tome will be near a sunken statue.
Once you have the tome, head to the Divine Child of Rejuvenation in the Inner Sanctum of Senpou Temple. She will give you rice. Take it, and use it, whether in combat or not. Keep asking her for more as time passes, and keep on using it. Repeat this process until she becomes sick.

When she is sick, hand her Persimmon. You can give her the rare Persimmon, or the normal ones as it does not matter. Give her one, and she will give you rice, but with the added request to hand it to the Divine Heir, Kuro.
After this, head on over and initiate the second encounter with Owl. After your meeting with the old man, you can talk to Kuro, and hand him the rice.
Once you have given him the rice, and he has eaten it, return to the Divine Child. Speak with her, rest, and you will find that she has moved. You will now find her in the same boss room where you encountered the Folding Screen Monkeys.

Once you find her, she will tell you that she needs another tome from the master of the temple. Head to the temple entrance where you will find a tome on his body. Bring it back to the Divine Child, and she will task you with getting two fruits.
These fruits concern the two great serpents of the valley. The Fresh Serpent Viscera requires you to kill the first Serpent that you come across. It also requires you to have unlocked the Puppeteer Ninjutsu ability.
Once you have this ability, head to the beginning area of Senpou Temple and head to the area where you can fly the kite. Take control of the Senpou Assassin nearby the contraption, which will make him raise the kite seemingly forever. Note that when you use the ability on him, he will do nothing until you have rested or left the area.
After you have used the ninjutsu on the assassin, you can head to where the Old Hag is located near the second main Senpou area. Here, she will have hinted towards one of the fruits being located ahead. Naturally, you must heed her advice! Use the kite to get to the other side, and traverse the cliff edges to make your way to a lonely little cave with its own Sculptor’s Idol. This is definitely the most complex of the Sekiro: Shadows Die Twice endings.

The following will require you to have had both chase encounters with the Serpent of the Valley. Doing your due diligence in exploring areas as you make your way through the mid-game should be enough.
If you have encountered the serpent twice, you can head to the other side of the small cave. There is a lone plank that you can stand on – it does not have invisible walls, so be careful! Looking down, you will see a weird sharp mountain. Depending on your system, you will see the Serpent of the Valley, or the cliff. On the original Xbox One, you will only find out whether the serpent is really there, once you have jumped. On PC and PlayStation 4, you will see whether it is there without you needed to sacrifice some health.
If the serpent is there, jump down, and initiate a deathblow on its head, which will result in its death. As a reward for killing it, you will get its heart – the fresh serpent viscera.

Next, you need to get the Dried Serpent Viscera. To do this, head deep into the Sunken Valley, down to the poison area. The only indicator for whether you are on the right track is when you find the Mob Merchant down there. Near him, is a small cave entrance. Inside, you will walk right into the body of another giant serpent.
Follow the body until you find where its head is located. You will see that it is guarding a shrine. Do not cross the bridge! Look for a small hole, where you will find a lonely lost monkey. Use the puppeteer ninjutsu on it to lure the serpent away. Once it is gone, you can access the shrine and get the Dried Serpent Viscera within. Yes, you do not actually kill another giant snake for this one.
Finally, with the two “fruits” in-hand, head to the Divine Child and hand it to her. Rest a few times to pass the time, and head back. She will give you Frozen Tears once enough time has passed.
Go through the rest of the game as usual in order to unlock the final scenario in the Sekiro: Shadows Die Twice endings. After defeating the Divine Dragon, you can give Kuro the items. Hand him the Frozen Tears and the Dragon Tears. This will reward you with the Return ending, and you will feel accomplished as heck. Congratulations, shinobi. Now go and do this again for NG+. And the NG+ after that.

[Source: Fextralife Wiki]

Junior Editor at Vamers. From Superman to Ironman; Bill Rizer to Sam Fisher and everything in-between, Edward loves it all. He is a Bachelor of Arts student and English Major specialising in Language and Literature. He is an avid writer and casual social networker with a flare for all things tech related.
- Edward Swardthttps://vamers.com/author/edwardswardt/

- Edward Swardthttps://vamers.com/author/edwardswardt/

- Edward Swardthttps://vamers.com/author/edwardswardt/

- Edward Swardthttps://vamers.com/author/edwardswardt/

- Edward Swardthttps://vamers.com/author/edwardswardt/

- Edward Swardthttps://vamers.com/author/edwardswardt/

- Edward Swardthttps://vamers.com/author/edwardswardt/

- Edward Swardthttps://vamers.com/author/edwardswardt/


